Tonaltopia Mac Info
Getting Started
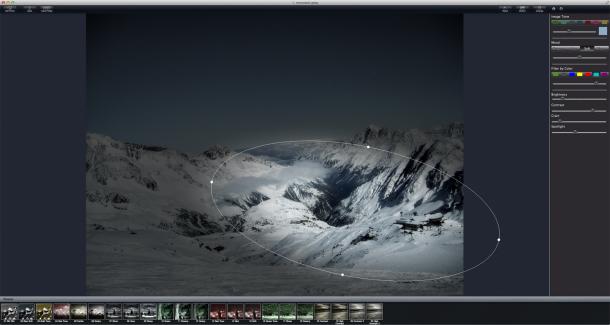
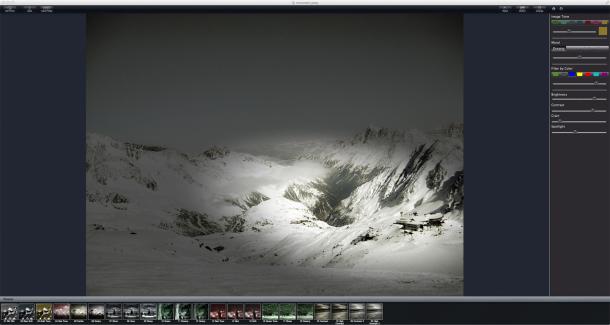
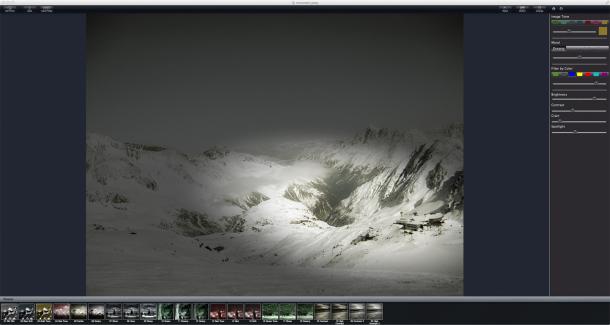
Use the Spotlight tool to specify the focal point of the light in your image. Adjust it by pinching the circle with your fingers to enlarge, reshape and rotate the spotlight to various areas on the image.
Buttons
Save Preset - Saves your custom made preset.
Reset - Resets the picture back to the original.
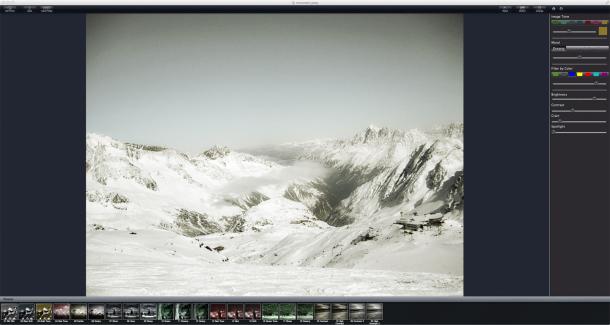
Before - Hold down to see what your image looked like before adding the grunge effects.
Change - Randomizes the effects on the image.
Adjustments
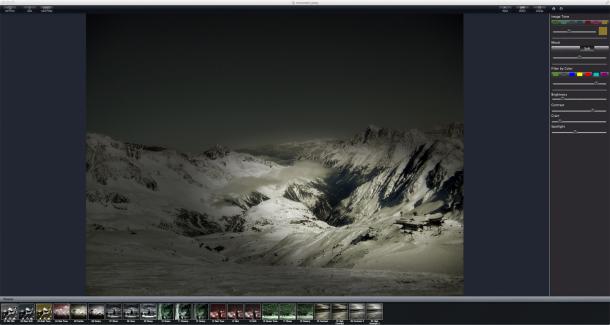
Image Tone – Choose a color tone for your image by using either the “Image Tone” bar or choose your own color using the color box below to choose a custom color using the apps full spectrum color picker.
Image Tone Slider - Change the tone color by moving the slider right to increase tone amount. Moving the slider left will add original color back into the photo.
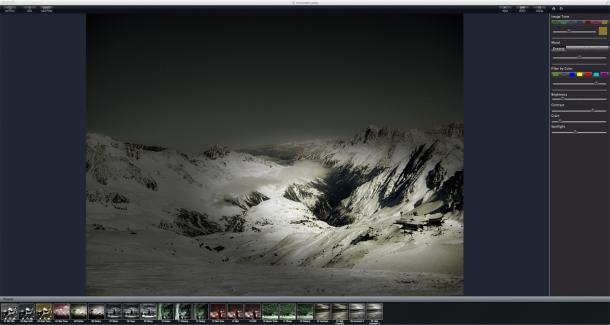
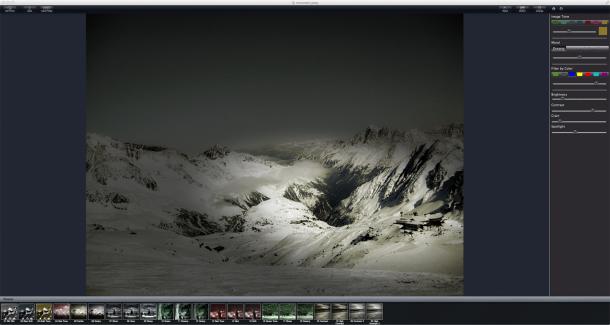
Mood - Select one of our four “Moods” to drastically change the feeling of the picture.
Mood Slider - Change the amount of the mood selected.
Filter by Color - Holds back selected color like a traditional camera filter. The filters are easy to use and by tapping each filter you will see how they affect the range of depth and tone in your photo.
Brightness Slider – Use this to choose how light or dark your picture appears.
Contrast Slider - Increases the difference between the brightest and darkest areas.
Grain Slider - Adds a grain effect seen in processed film.
Spotlight Slider - Changes the opacity of the spotlight. To hide the spotlight, tap outside the ellipse.
You can also use the built in presets.

